Hey friends!
February is here and love is in the air! Today I will teach you a step by step guide to making adorable Stargazer lilies using coffee filters. To bring you a little valentine’s day inspiration to your crafternoon. **Warning: YOU WILL GET MESSY 🙂
Here’s what you’ll need
-wire (I’m using 20 gauge)
– coffee filters (preferably in white)
-watercolor & brush
-needle nose pliers
-PVA glue
-stamen in yellow
-scissors
-floral tape
-Prismacolor markers in pink and mulberry
-card stock paper in Moss Green
**optional-glitter nail polish

Step 1: Color your filters
Use water color at random, making blotches of the same color in different tones . I like to use one color for 75% of the filter to create consistency. Let dry completely before moving on to step 2.
Make a night out of it! Get your friends together and color your hearts out. It’s a great way to relax, gossip and keep your hands busy!
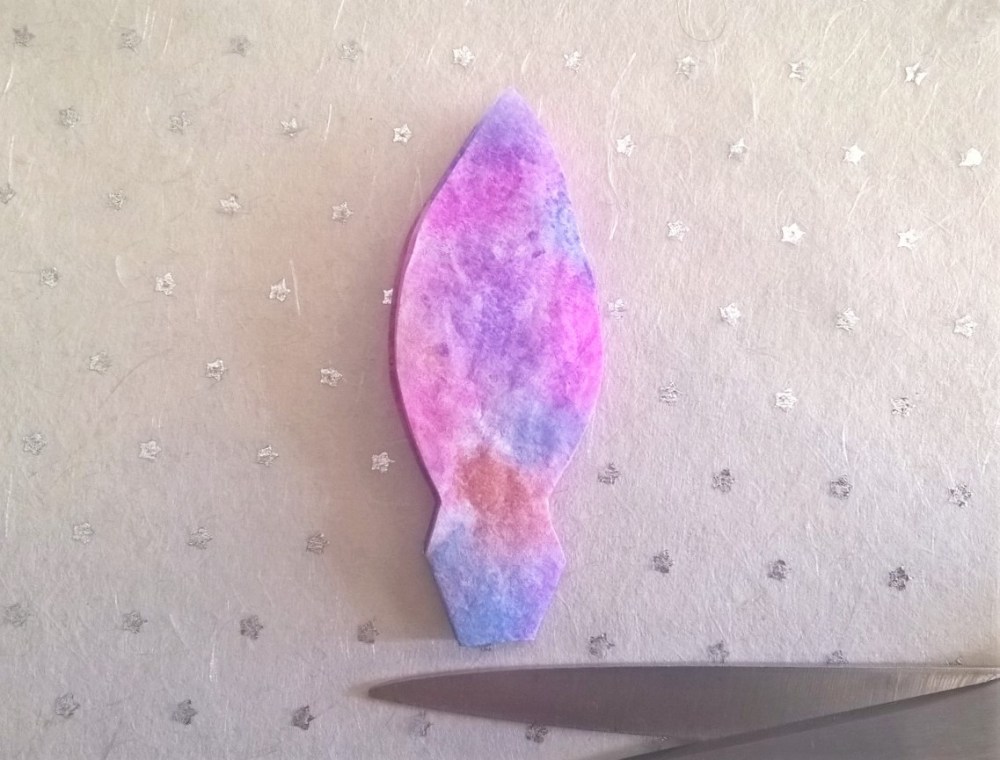
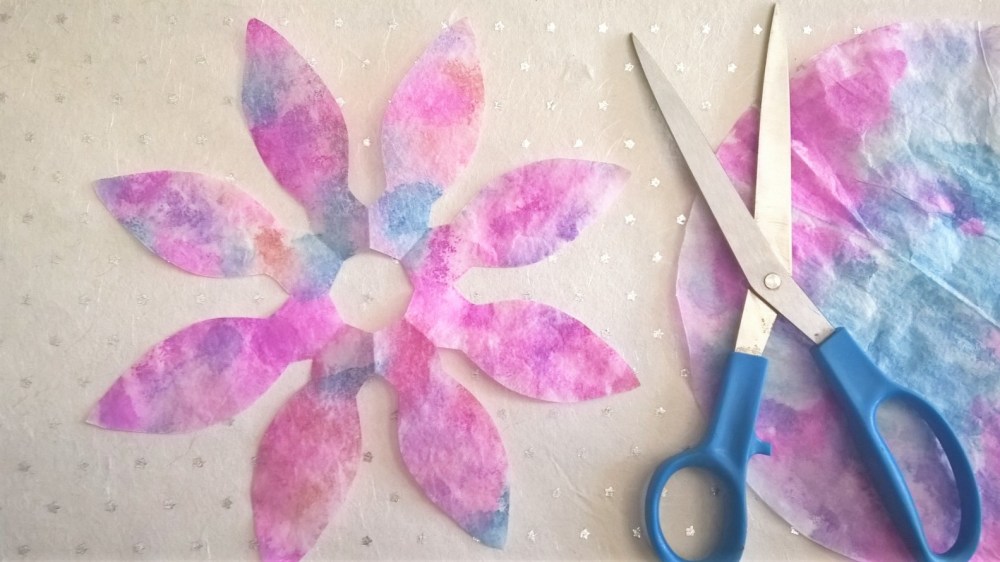
Step: 2 Fold and cut


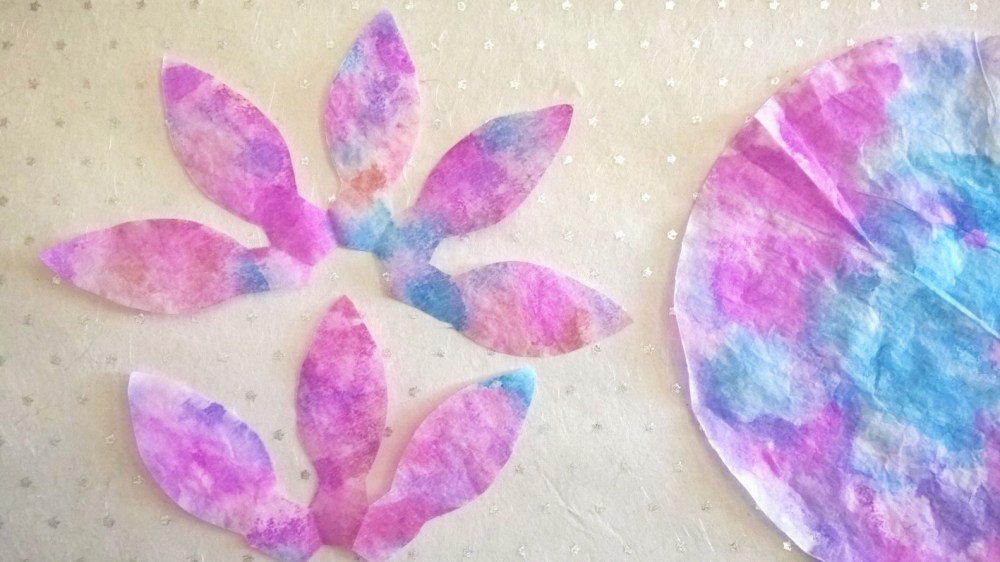
Fold filter in half, then half again, and once more. Cut an oval with pointed tip and cut a quarter of an inch from the bottom. Open the filter and cut off five petals in a row. Save the rest for another flower.
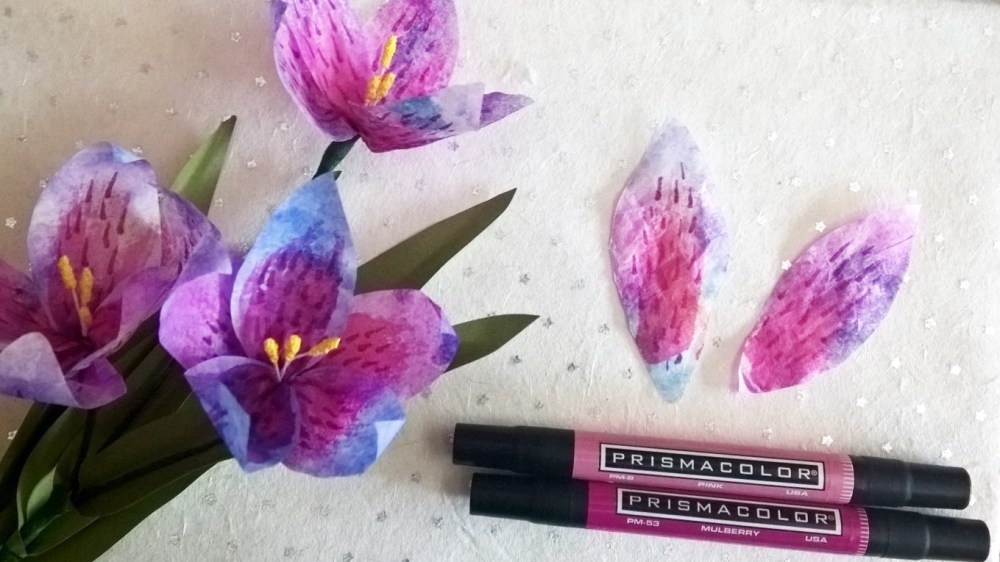
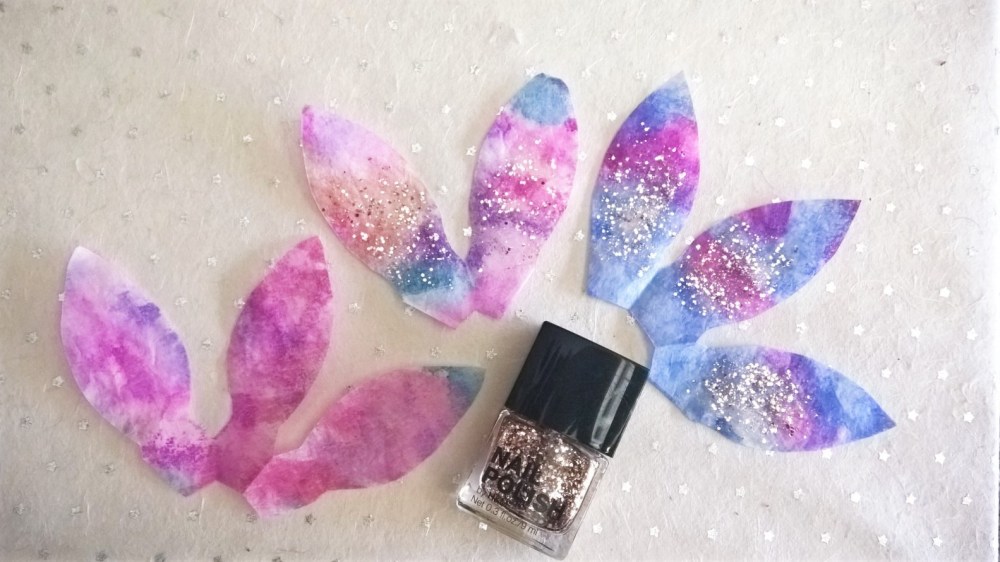
Step 3: Decorate
If you’re going for a simple and bold look use markers for this step.
With a pink marker, make soft brush strokes along the center of the petals.
With a darker marker, make small lines at random. Decreasing in lines as you get to the top of the petal. (this is the part when I usually go nuts and end up making one too many lines than necessary cause once you pop you just can’t stop, right?)
For a bit of sparkle and a bucket load of ZAZZ use glitter nail polish!
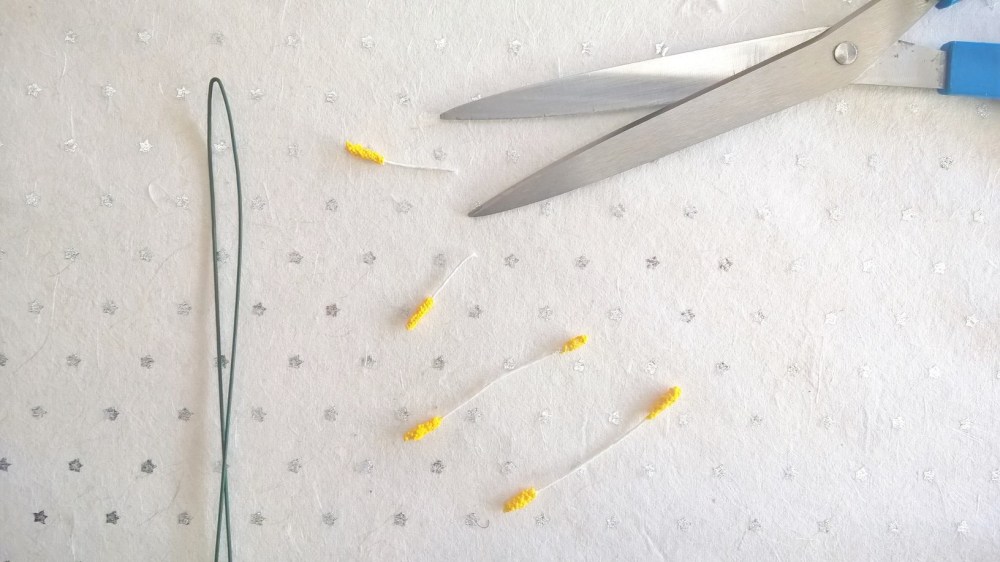
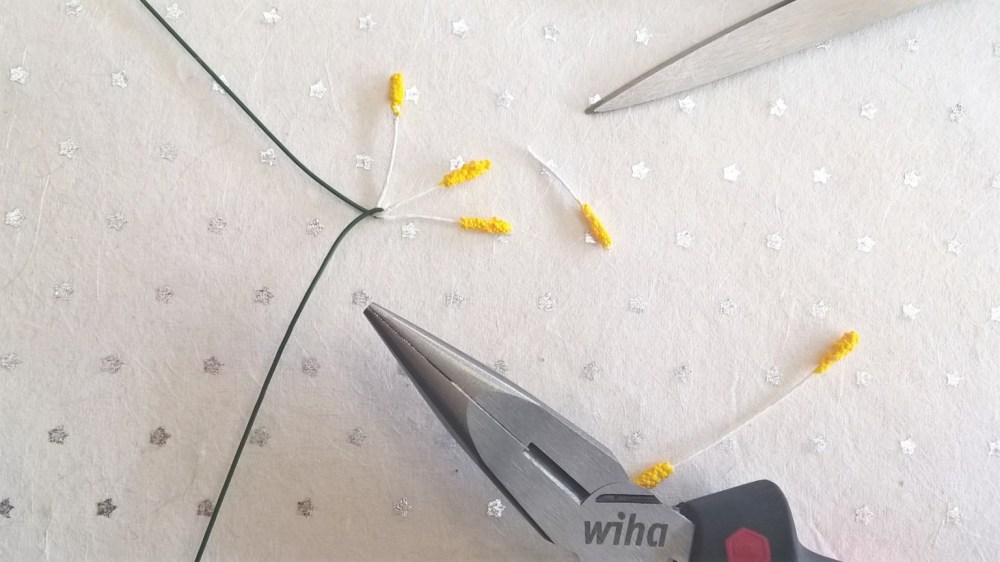
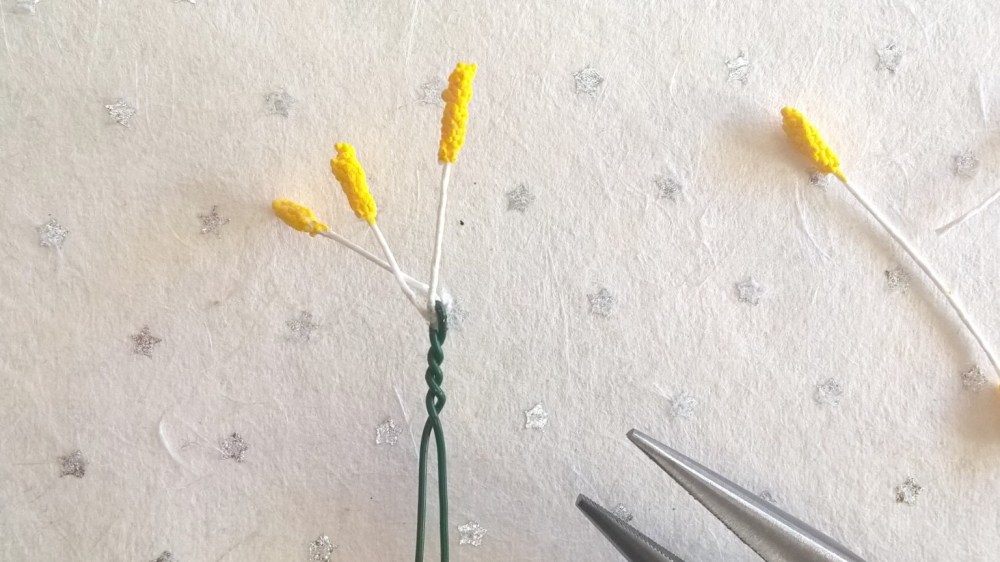
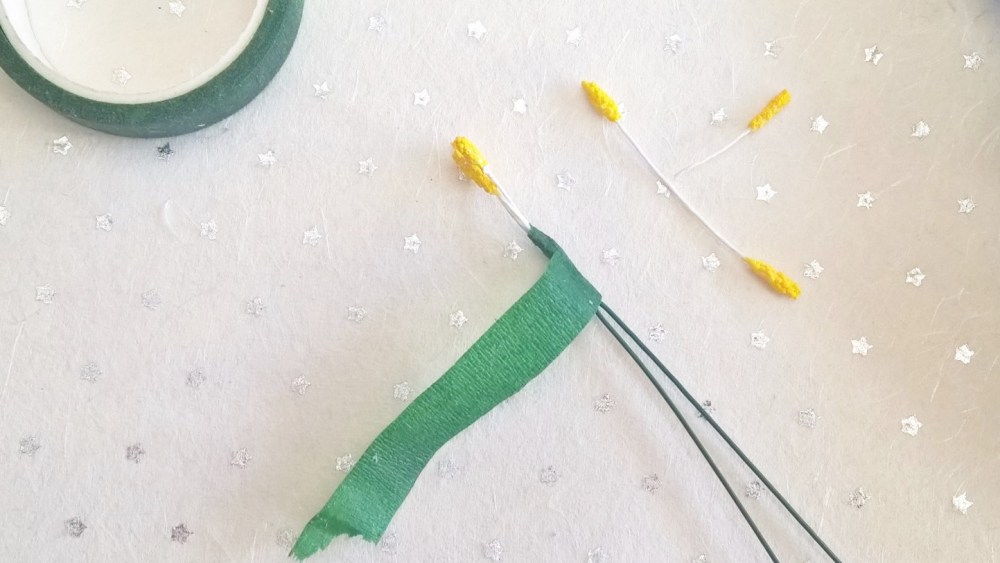
Step 4: Wire & stamen prep
Fold your wire, attach stamen along the fold and pinch wire together to keep the stamen in place. Give the wire a few twists and cover with floral tape.
Step 5: Petal assembly


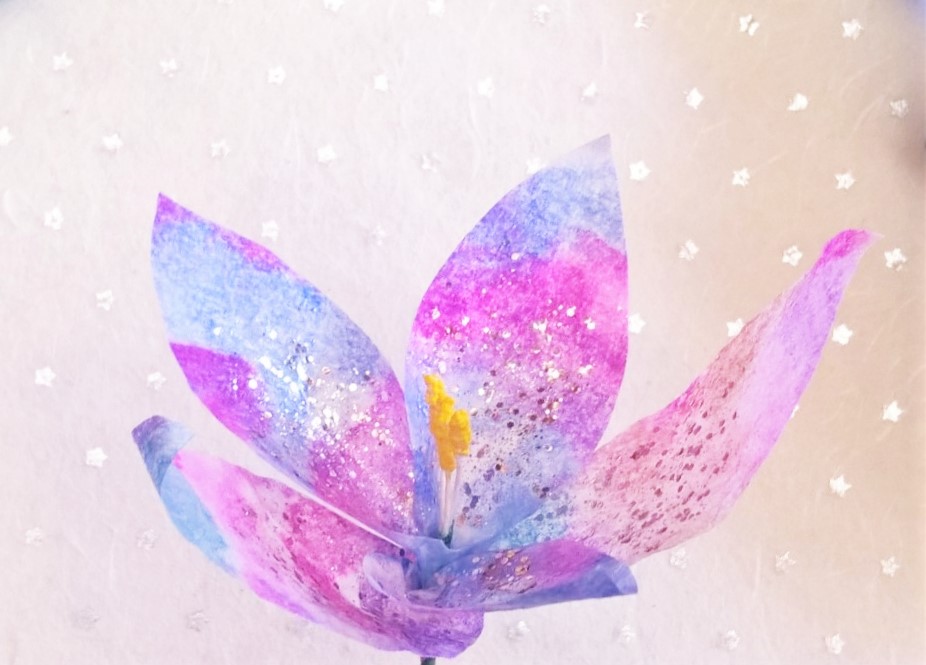
Add glue along the bottom of the petals. Wrap the petals making sure they stagger and are not one in front of the other. Pinch the paper with your fingertips to keep the shape of the flower (here’s where it get messy!). PVA glue allows for a few minutes of adjustments before it dries. Once the glue has dried adhere floral tape to the flower where it meets the stem and wrap the tape all the way to the bottom.
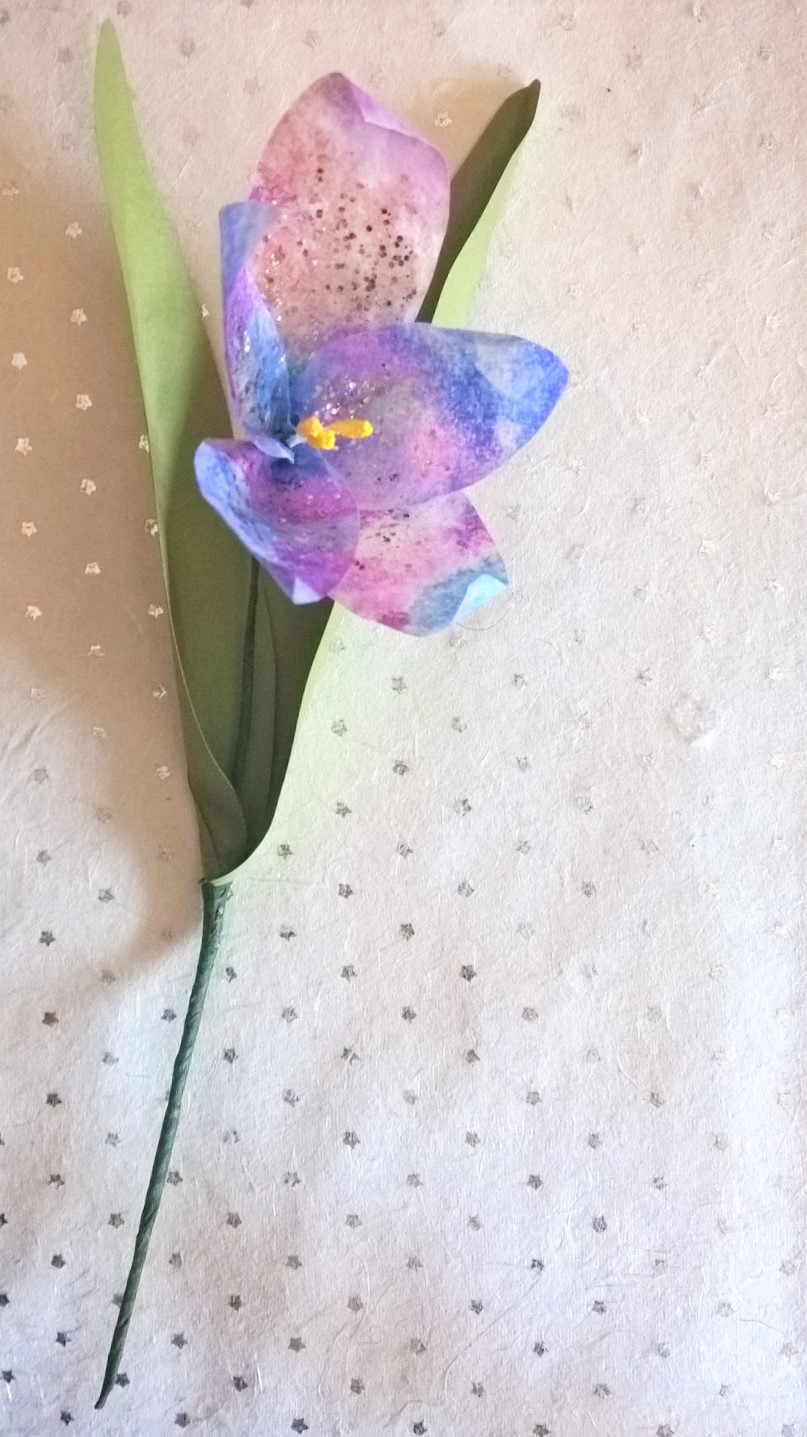
Step 6: Finishing touches
To finish up your beautiful flowers add a touch of greenery.
Glue leaves along the bottom end of the stems, (Tip: pinch with your fingertips to keep them in place as the glue dries) wrap with floral tape after each leaf.
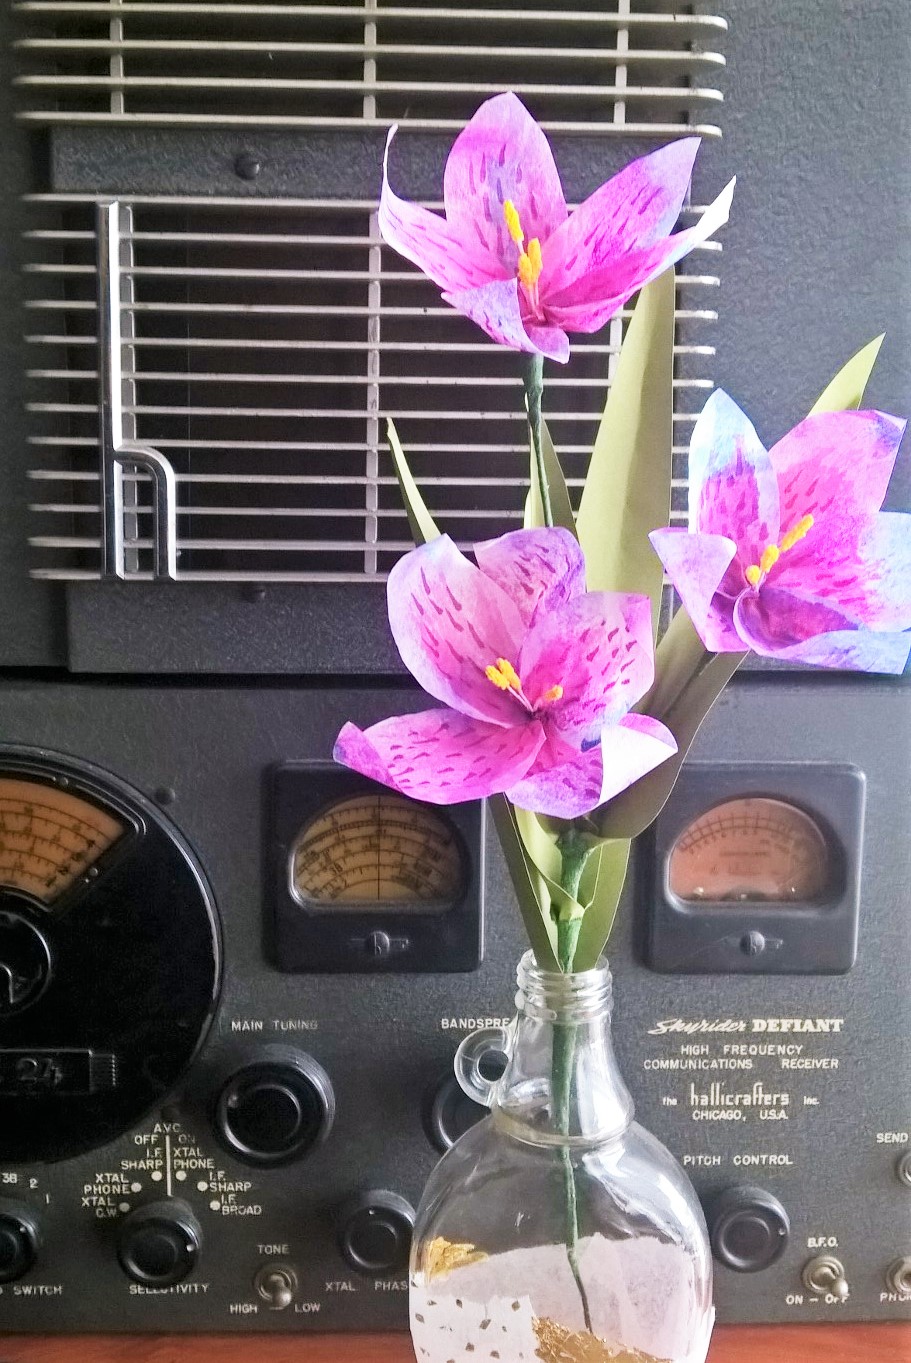
Assemble two or three flowers together and wrap with tape again to make one long stem.


And voila!
Thanks so much for sticking around and I hope you enjoy making these pretty little pieces of joy! Follow me on Instagram for more shop happenings and fresh flowers. Until next time!
Stay fresh,
Black Doily

One Comment Add yours